Gingerbread House Kit

If you’re reading this, you probably just embarked on your very own HRO Gingerbread House Kit.
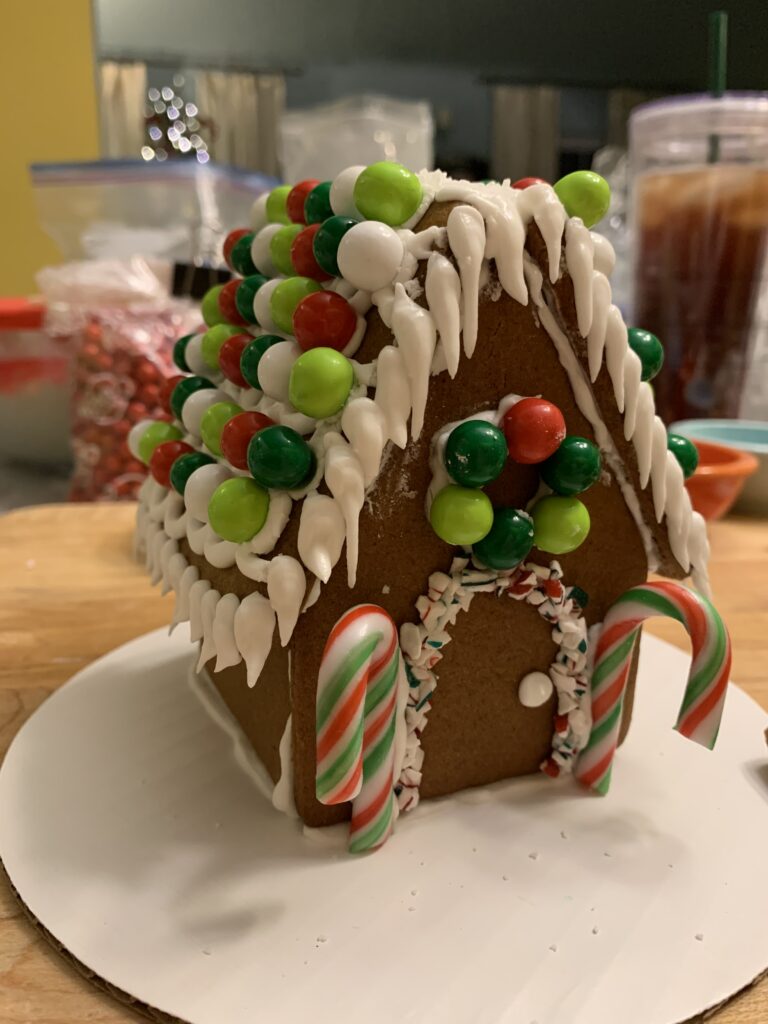
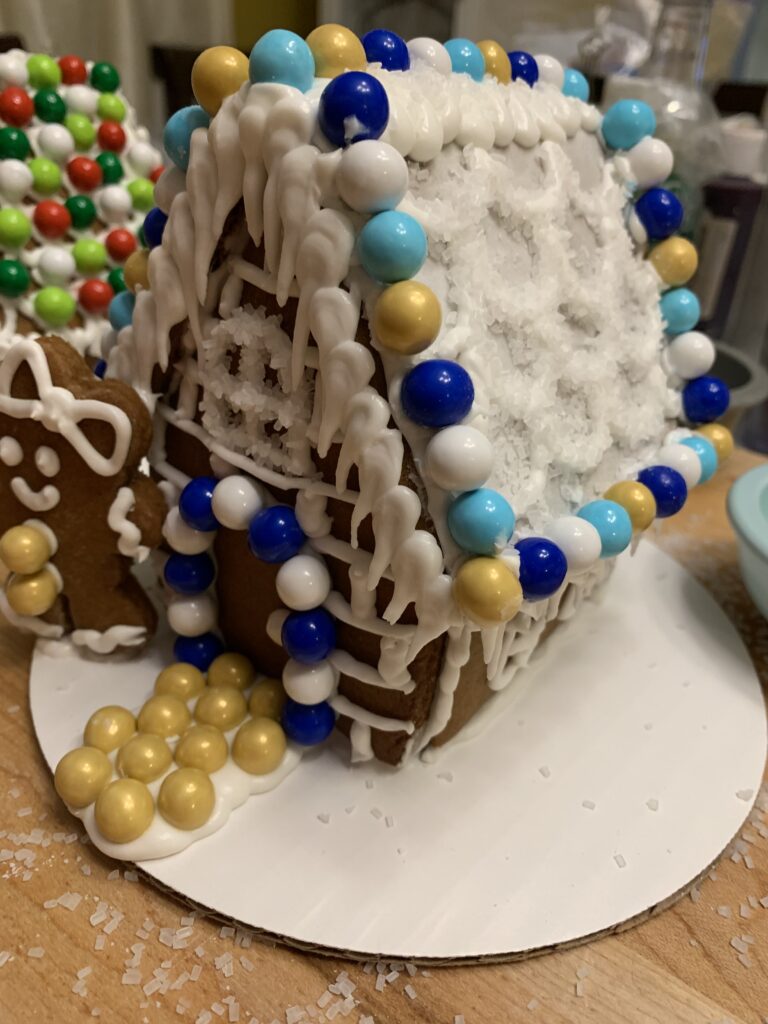
You’ve probably seen plenty of fancy architecturally accurate gingerbread houses these days on Pinterest and Instagram. I’ve been prone to make houses like that myself with realistic windows lit from inside and walls that exactly square up. But the truth is gingerbread houses are messy. They are supposed to be messy! The “glue” that holds them together should resemble snow oozing through the seems. The roof should maybe not quite align but easily be masked with snow and candy.
Let’s build a house!
Step 1. You should have everything you need to get started but you’ll also want a pair of sharp scissors on hand.

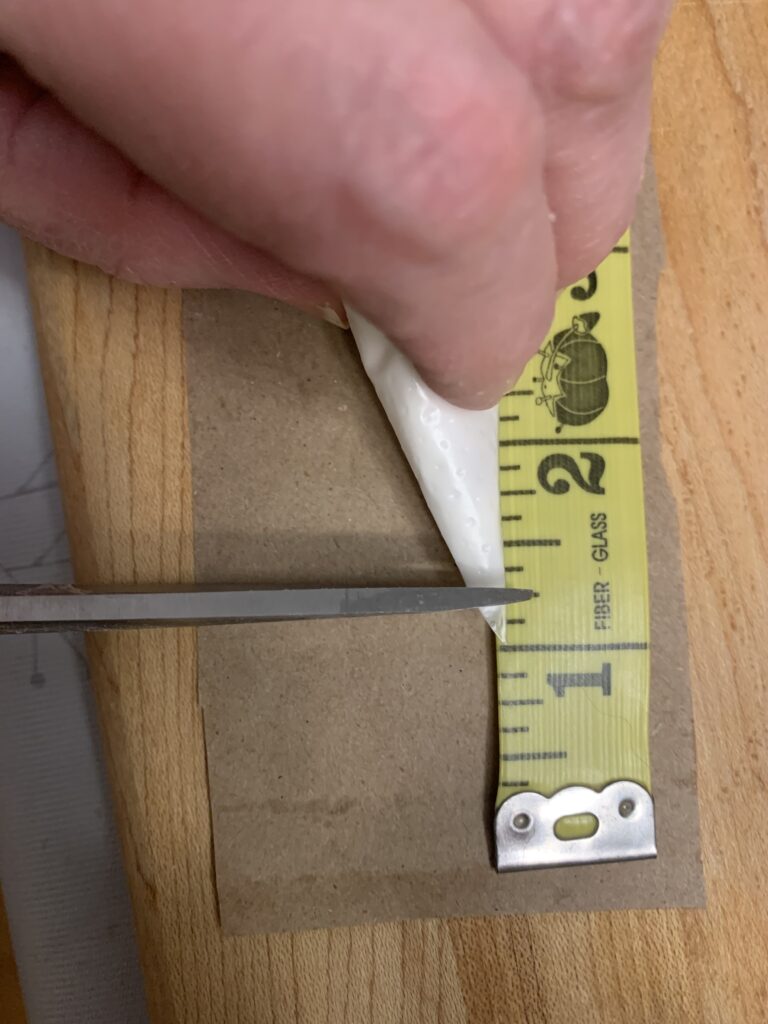
Step 2. Cut the tip off your icing bag. Don’t cut too much!
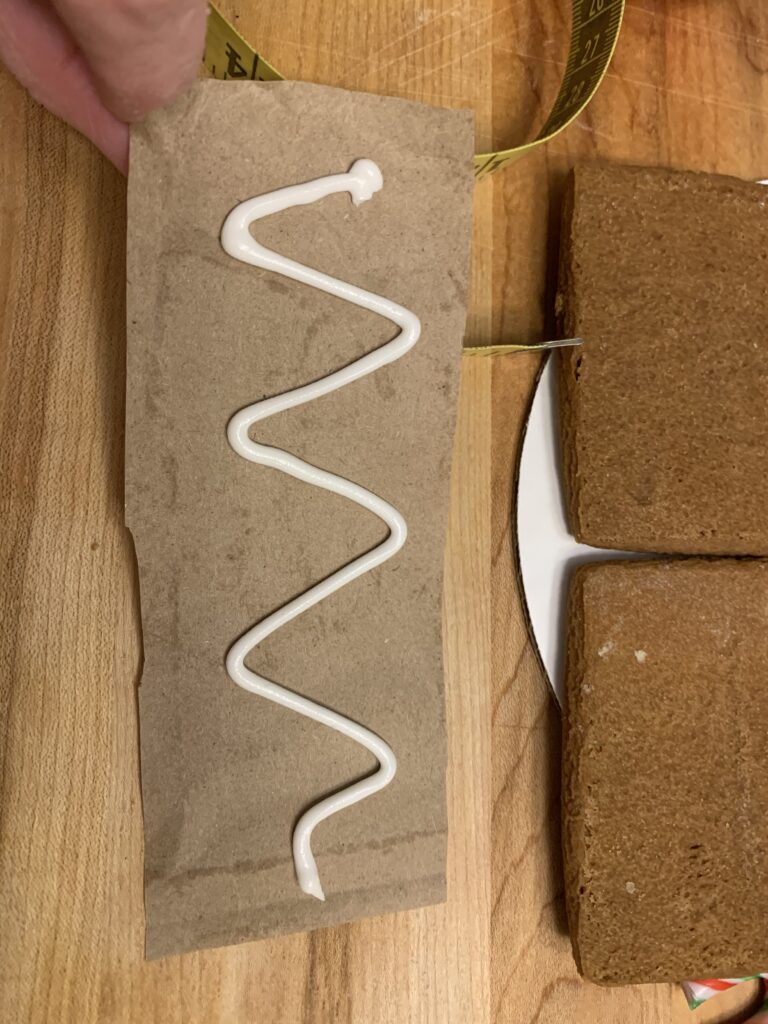
Step 3. I learned this little tip from another cookier. Cut a piece of paper bag that fits inside the back of the roof pieces. “Glue” the under sides of your roof pieces to the paper and set it aside to dry. This will keep the roof from sliding down the house once you’re ready to add it.

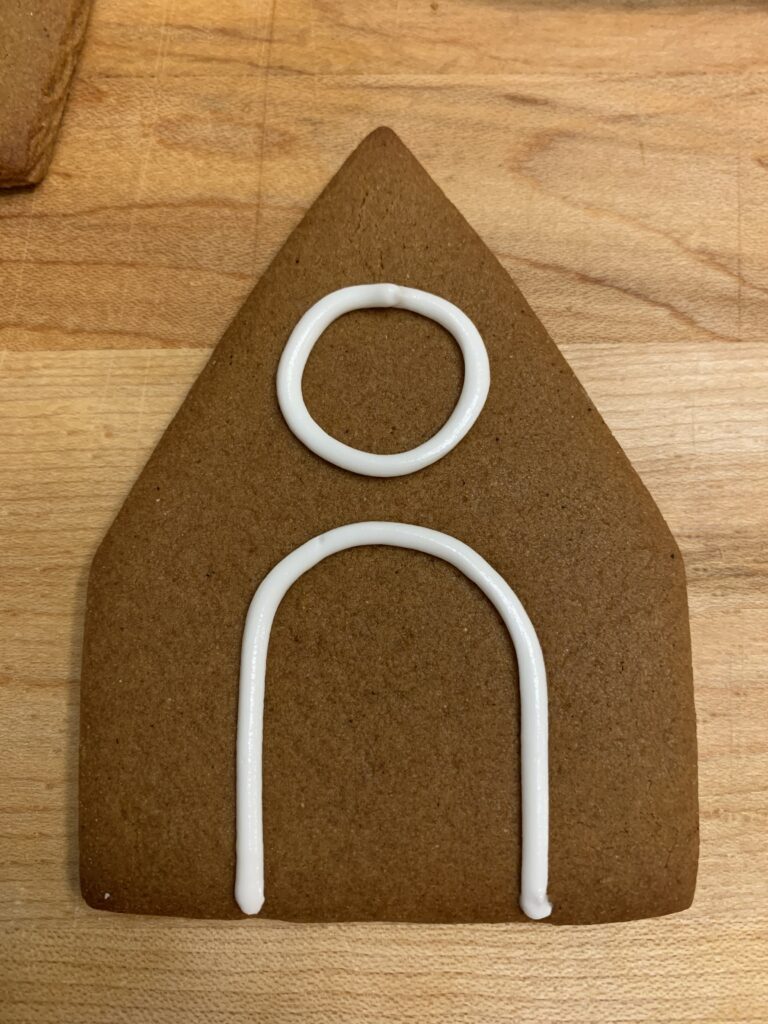
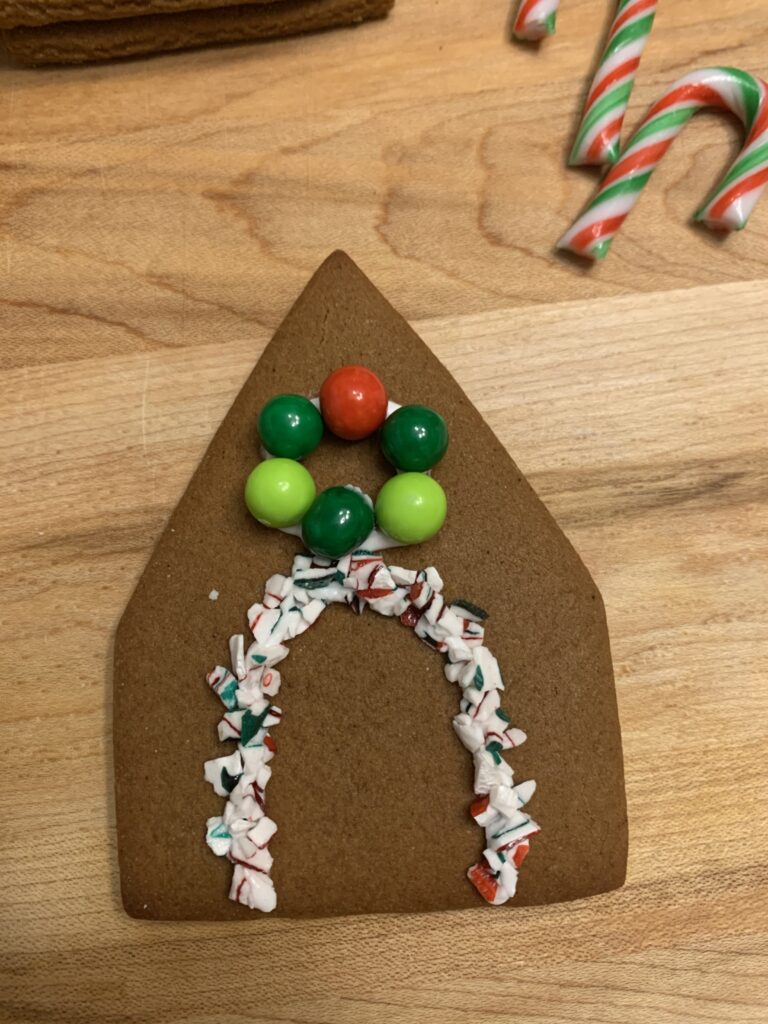
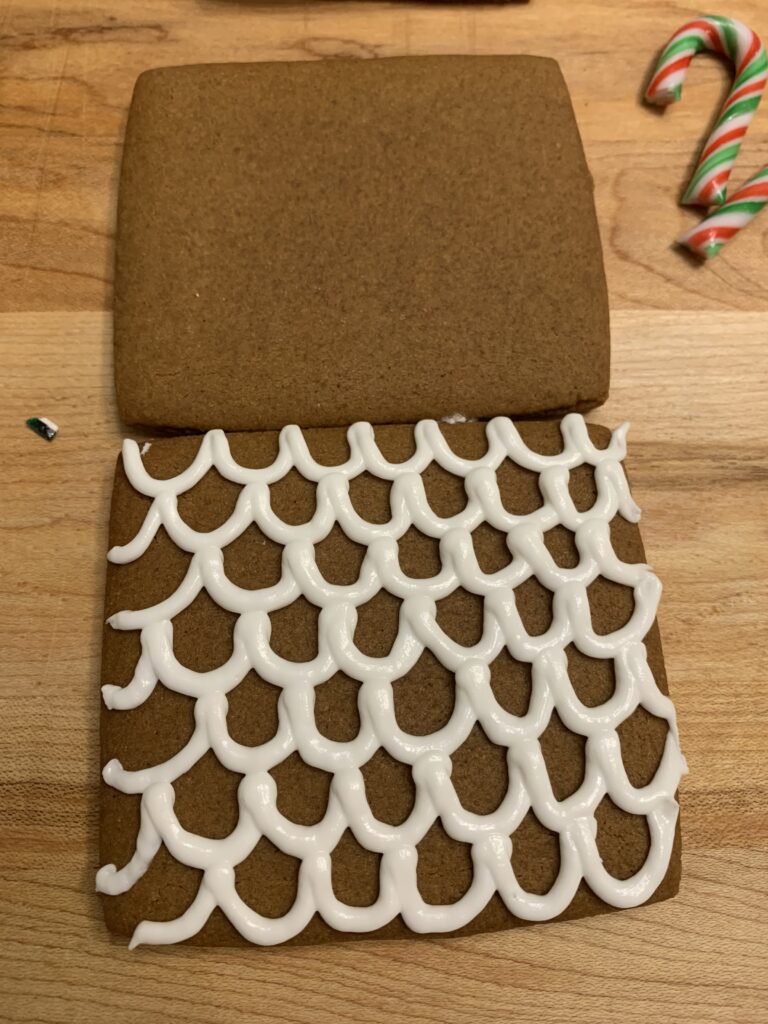
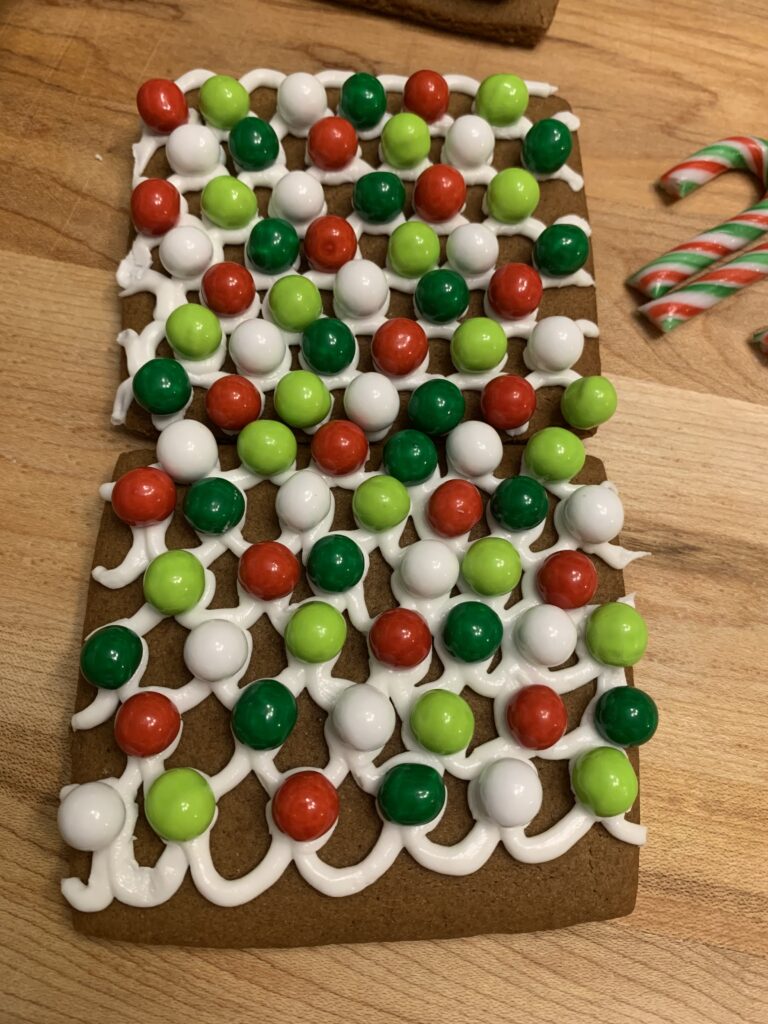
Step 4. Decorate the front, back, sides, and roof to your liking prior to building.
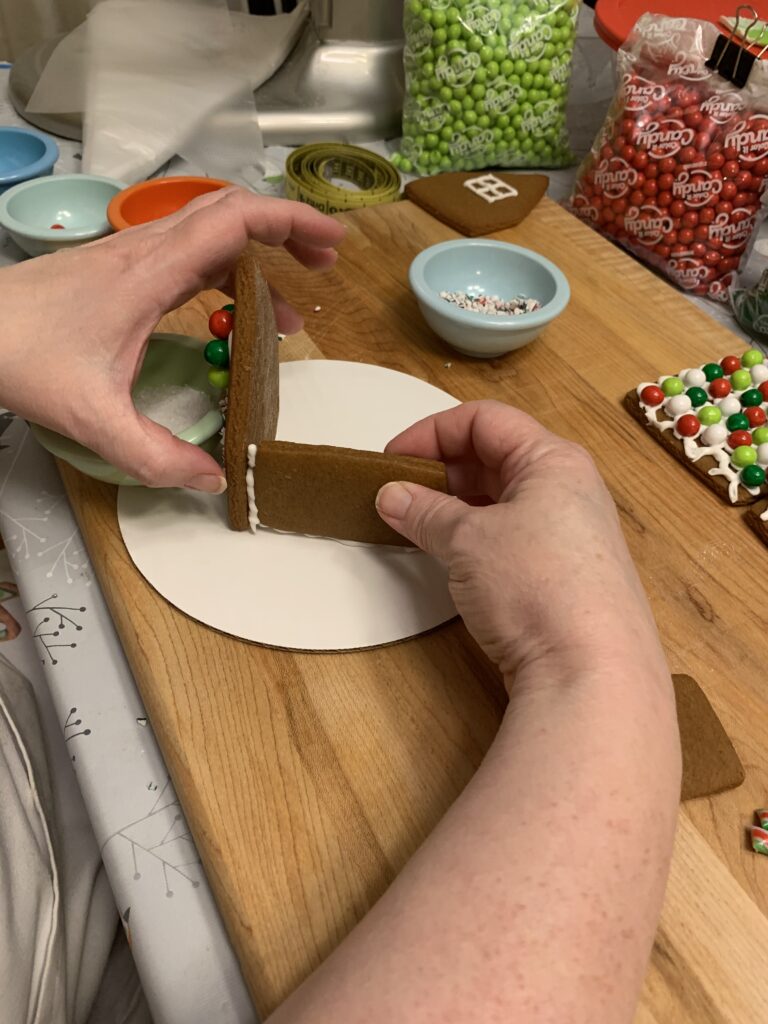
Step 5. Allow your decorations to set up for 10-20 minutes. Once you’re sure they’re ready, apply icing to the bottom of the front of the house and “glue” it to the provided board. You will likely need to prop it up with something small while you glue the side pieces. Once you have the front, back, and two side walls in place, allow that to set up for another 10 -15 minutes prior to adding the roof.

Step 6. Glue around all top edges and add your roof. You’ll need to hold it in place for a few minutes by hand.
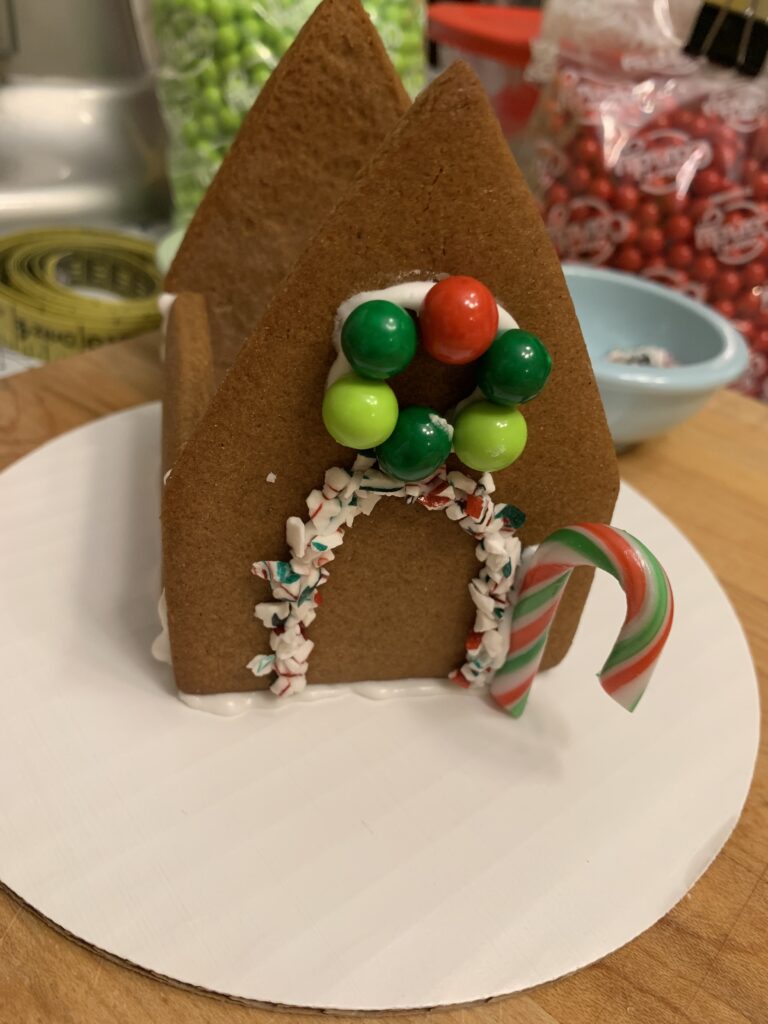
Step 7. Embellish however you like!
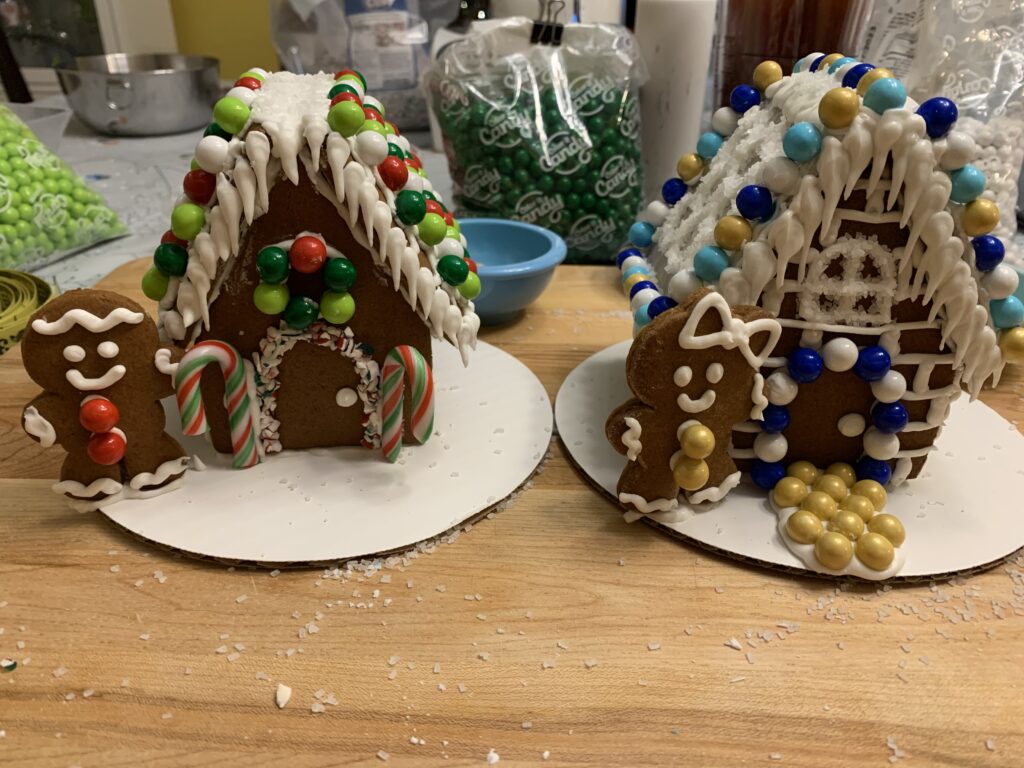
Happy Decorating! Tag me on Instagram @HeatherReedOriginals with your final design!